The LPB1 (Line Power Boost 1) is a boost pedal that was commercialized in 1968 by Electro Harmonix. It is the first boost pedal using a silicon transistor. Indeed, previous boosts like the Dallas Rangemaster Treble Booster were using germanium transistors. Another novelty with this pedal was that it was boosting all frequencies and not only trebles, making it the first clean boost available!
 The circuit is really the most simple one you can imagine for a boost:
 First, there is a 0.1uF coupling capacitor that prevents parasitic DC current from the guitar to go in the circuit. With the R2 resistance, it forms a high pass filter : by changing its value, you can modulate the amount of bass going through the circuit. If you increase C1 value, more bass will go through, and vice versa.
Then, there are two resistors forming a voltage divider (R2 and R1), to provide a certain voltage to the base of the transistor. Here it is : R2/(R2+R1)x9V = 43/(43+430)x9=0,81V at the transistor's base.
The silicon transistor is a 2n5088 (originally a 2n5133 - same transistors that were used in the Big Muff later), wired as a common emitter. R4 and R3 will define the amount of amplification. If you increase R4, amplification will be larger. If you increase R3, there will be less gain.
A second 0.1uF coupling capacitor that prevents DC current from the battery to go out of the circuit. Finally, a 100k potentiometer wired as a variable resistor defines the final volume.
If you look carefuly, you can see that the last stage of the Big Muff circuit is exactly the same! A LPB1 circuit is used to increase the final volume.
Indeed, this circuit can be used in a lot of different effects to boost the entry or final level. A fun thing to do is to add a LPB1 boost before a saturation effect to increase the gain. It is very fun on a Big Muff (like in the Musket Fuzz or Supercolider fuzz), or on a Tube screamer (like in the Fulltone Fulldrive)!
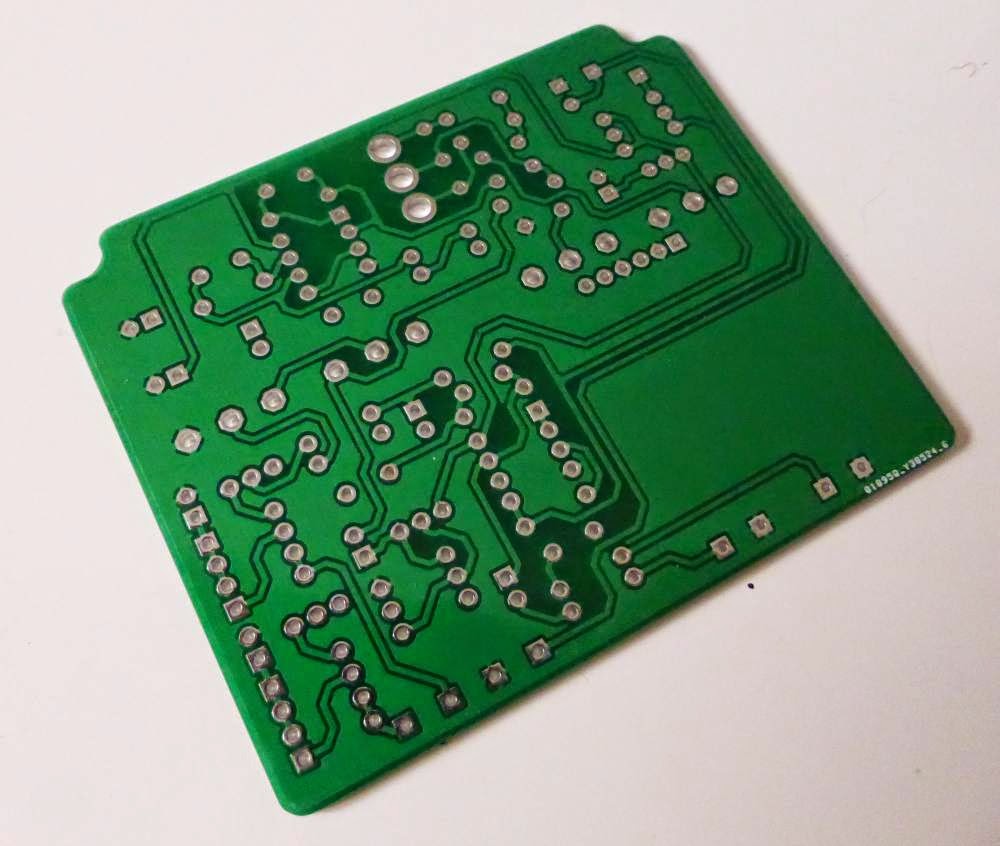
In order to be able to add this little circuit when I want, or to test it on several pedals, I decided to make a small PCB that allows you to add a "boost" knob on every pedal you want. There is a "in" and a "out" pad that allows you to place it anywhere in a circuit:
 I will test it on a Big Muff or a Jan Ray! I could also try to see if it can fit a Hammond LB enclosure (super small squared enclosures like the one I used for my Strymon Favorite switch) Note that there is no voltage stabilization or polarity protection system on this board (too small, not enough space for it!), so do not hesitate to wire a 100uF capacitor between the two lugs of your power supply input.
I should receive all the parts to test it soon...

Then, there are two resistors forming a voltage divider (R2 and R1), to provide a certain voltage to the base of the transistor. Here it is : R2/(R2+R1)x9V = 43/(43+430)x9=0,81V at the transistor's base.
The silicon transistor is a 2n5088 (originally a 2n5133 - same transistors that were used in the Big Muff later), wired as a common emitter. R4 and R3 will define the amount of amplification. If you increase R4, amplification will be larger. If you increase R3, there will be less gain.
A second 0.1uF coupling capacitor that prevents DC current from the battery to go out of the circuit. Finally, a 100k potentiometer wired as a variable resistor defines the final volume.
If you look carefuly, you can see that the last stage of the Big Muff circuit is exactly the same! A LPB1 circuit is used to increase the final volume.
Indeed, this circuit can be used in a lot of different effects to boost the entry or final level. A fun thing to do is to add a LPB1 boost before a saturation effect to increase the gain. It is very fun on a Big Muff (like in the Musket Fuzz or Supercolider fuzz), or on a Tube screamer (like in the Fulltone Fulldrive)!
In order to be able to add this little circuit when I want, or to test it on several pedals, I decided to make a small PCB that allows you to add a "boost" knob on every pedal you want. There is a "in" and a "out" pad that allows you to place it anywhere in a circuit:

I should receive all the parts to test it soon...


