To lear more about guitar cables, to know what makes a guitar cable good or bad, read my article: all you ever wanted to know about guitar cables, but were afraid to ask.
The guitar lead cable is the most important cable of your chain. This is the cable that goes from your guitar to your effects / straight to your amp if you are this kind of guitar player. If your guitar has no buffer in it (or no active pickups), which is highly probable as you are a conservative / vintage lover guitarist like me, the impedance of your signal will be high. You can loose trebles if the capacitance of this cable is too important (see my guitar cables: myths and legends article), before going through a buffer. Thus, if you which to keep it, you should have a short and low capacitance per meter cable.
If you want to make patch guitar cables, I also wrote a step by step tutorial about how to make patches for your pedal board.
What do you need?
For the cable itself, you have different options. The capacitance between the core cable that transmit the signal and the ground wire is the most important value that determine the treble loss. I would suggest to take a look at this table that sums up the capacitance per meter of many brands and types of guitar cables. Another thing to keep in mind is that this cable will go through a lot of gigs, concert, will be plugged / unplugged a lot of times, so it has to be rugged! The best for me is the Sommer LLX which has a super low capacitance per meter value, and is highly resistant. It is really made for guitar lead cable applications. Another option could be the Sommer Spirit XXL or the tricone XXL (they have the same capacitance per meter value, and the XXL stands for the fact that they are rugged). The cable must not be too long, so for me 1.5 to 3 meters is a good length. So to sum up, the cable should be rugged, short and with a low capacitance per meter.The connectors have to be also of good quality, because this cable will go through a lot of use. The connectors should be tough. The Amphenol ACP M-GN is a classic plug that will perfectly fit this function. Neutrik NP2C is also a nice option. Remember: you do not need gold plated contacts.
Then, you will need a soldering iron, solder of course, pliers, a cutter (razor blades can do the trick too) and a wire stripper.

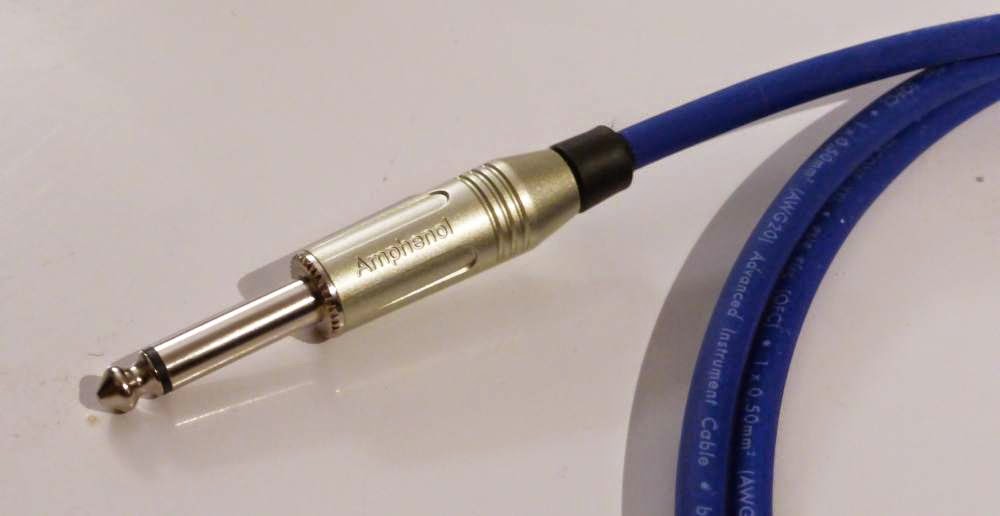
You do not need so much stuff in the end. For this example, I used Sommer Tricone MKII XXL and two Amphenol ACP M-GN.
Step one: removing the shielding
You can measure approximately how much shielding you need to remove by placing the cable near the opened jack. Just unscrew the jack plug, and try to see how much you need to remove between the lugs of the jack and the ring that will hold the cable:

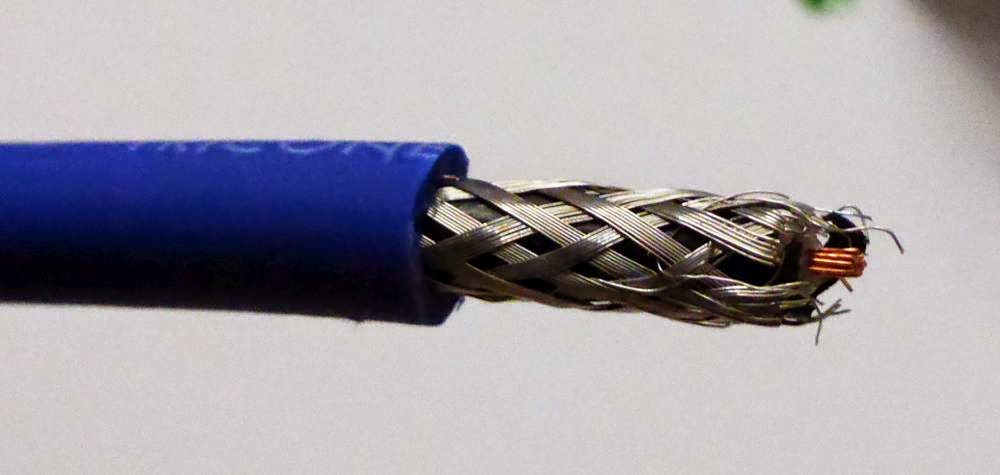
We can clearly see the ground wire (the silver braid around the cable). Basically, it is a cable inside a cable (cableception!), and the inner cable is made of copper wire, and will transmit the signal.
Twist the ground wires and place them aside. You have to remove a bit of the shielding surrounding the copper wire.

Step two: tinning the wires and plugs
To make the soldering easier and cleaner, you should tin the wires and the lugs of the plug.For that, just apply some solder on the wires (twisted ground and copper wire), and on the lugs of the plug. Beware of not putting too much solder, just a bit to cover it.
It will make the soldering much easier.
Step three: soldering
Place the cable inside the plug. Do not forget to put the back of the plug on the cable! I did it twice and it is super annoying because you have to unsolder the cable, and remake all the steps above... Avoid that.Then, just solder every wire where it should go. Try to make a proper solder (shiny, with not too much solder, but enough to maintain the cable in solder). Do not hesitate to heat the jack a bit (beware: the jack can become very very hot, do not burn your fingersby trying to holding it too quickly after soldering).
Verify that your solder are OK. For that, use a multimeter in "Logic" mod, and verify that the copper wire is indeed connected to the tip of the jack, and that the ground wire is connected to the ground part of the jack. Sometimes it is possible that false contacts happen... Try to avoid that.
Step four: putting it together
With pliers, torn the metallic part to prevent the cable from moving. Put the plug back together, verify one last time with your multimeter that everything is well connected, and you are done!

There you go, here is a perfect lead guitar cable, which is worth the 50 euros cables that you can find in stores! With the choices I made (1,5 meters of Sommer Tricone MKII XXL, Amphenol ACP M-GN), the cost was less than 10 euros for this cable!
Did you like this tutorial? Thank me by liking the Coda Effects Facebook page!
Any questions? Post a comment!


2 Comment
Wow. I just discovered this site and it’s an absolute gold mine of everything I wanted to learn in amazing detail and all in one place. You’re basically my version of a superhero. Thank you!
AnswerWhat about use a heat-shrink tubing to cover and protect plugs?
Answer