

I love my El Capistan from Strymon. It is a great tape delay, with a lot of features to adjust the sound exactly how you want it. Great ambient sounds, rhythmic delay or something subtler for solos...
What was missing was just a way to save settings and have presets like on many delays (TC Electronic Flashback, Line6 DL4, Timeline...)
I looked into the Strymon Favorite Switch, but it was a bit expensive for me, and unfortunately impossible to find used... As I read that the Favorite Switch was super easy to build, I searched a bit on the Internet, and it REALLY is extremely simple!
Here is a simple schematic for it:

Schematic. Most simple and useful scheme in the world!
How to build it?
Here is what you need:- 1x DPDT footswitch (perfect because it can be quite small and easy to find)
- 1x LED (the color you like!)
- 1x 1 to 10k resistor (depending on the color of the LED, the more blue it is, the bigger value you need)
- 1x Stereo jack input (Here, I really like the Neutrik NMJ6HC-S because it is very reliable)
- 1x 1590LB (Ideally Hammond but others can be OK)
- Some wire (I recommend solid core wire like in my guitar pedal wiring guide)
You do not need any battery or DC power jack because the DC current is directly provided by the Strymon pedal with the tip of the stereo jack.
Of course, you also need the classic material used for making guitar pedals (a driller, soldering iron...)
1. First step: let's drill the box!
You can use a drilling template if you want to be 100% safe.Or you can do it like me and go by feeling... Here is mine:

2. Second step: put your stuff in that box!
Just screw everything inside the box through the holes you have made. Be quite firm, especially on the footswitch and jack input, because you really want something solid!
3. Third step: solder your stuff in that box
Just follow the previous schematic to solder every cable. For the LED, I really recommend bending the legs to better attach the resistor to it, like I recommend in my guide to build your first guitar pedal.
The most annoying part of this build is drilling the box — you have to be a bit precise so that all the components properly fit in. Apart from that, it is really simple and totally worth it.
Here it is when finished, ready to be used!
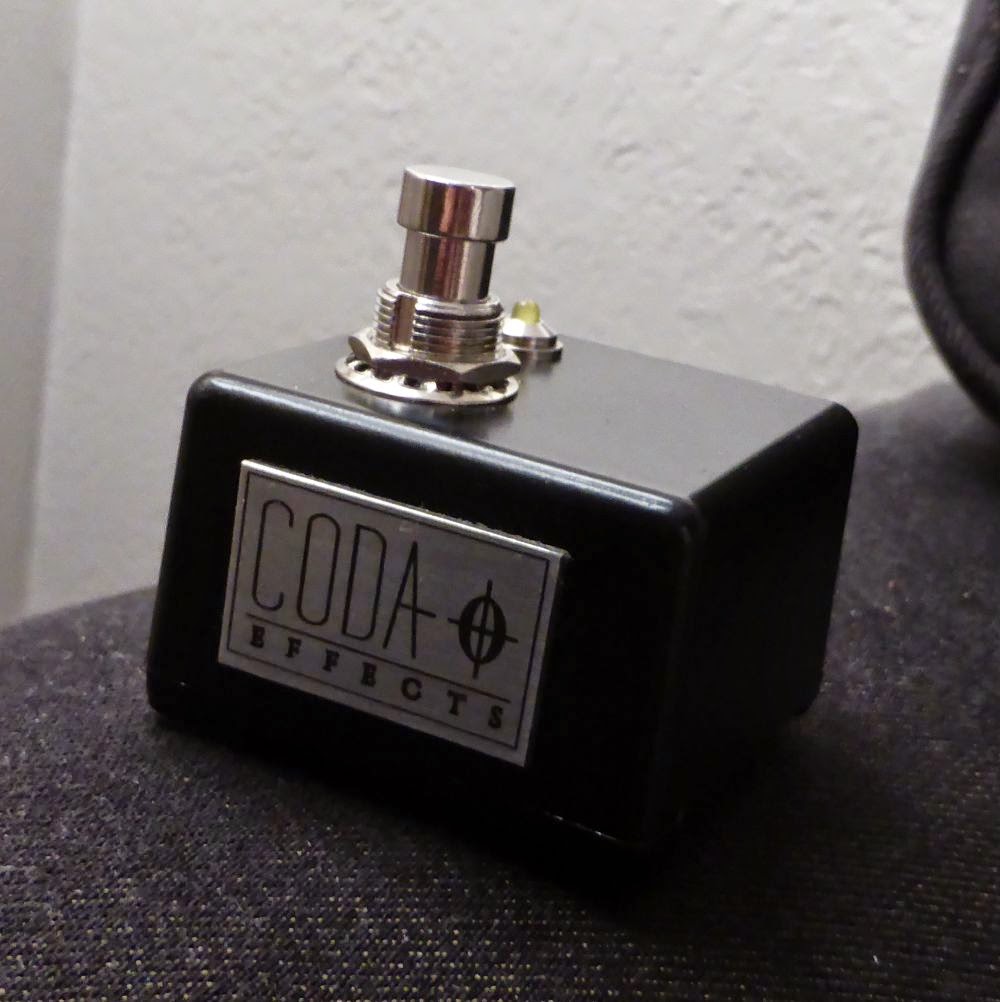
How does it sound?
The setting is properly memorized, which is useful when you want to use two types of delay during the same song, for instance. You just need a small stereo jack cable (not so easy to find).
I hope this post was useful to you. Join the Coda Effects community by liking the Coda Effects Facebook page and following us on Instagram for more workshop tips and circuit deep dives!
Any questions? Suggestions? Post a comment!
8 Comment
do you use a momentary switch?
AnswerIs that SPDT switch latching or non latching?
AnswerHello Adam,
AnswerNo it is a simple SPDT switch, normally open.
Hello Tomás,
AnswerIt ill work for a tap tempo. The schematic is a bit different. Actually, I made a tap tempo for a Boss pedal, it is the same schematic, except that you need to use a Normally Open momentary SPST switch: http://www.coda-effects.com/2016/08/boss-tap-tempo-diy.html
Here is the schematic, very simple!
Answerhttps://4.bp.blogspot.com/--YFjMVuNslo/V784LUM4vaI/AAAAAAAACto/wiD2asD3FwI0z1dPOqGfdUv45PsItX2MwCLcB/s320/taptemposchematic.jpg
Hi great info! Im using a joyo pxl-pro thst has 2 mono switches that can be activated independently. If I wanted to activate favorites mode, would I keep the tip connected and toggle ring to activate favorites mode? Any ideas?
AnswerGreat article! Looking to do something like this as an external switch for my Fractal AX8. Any idea if the LED would work if I run TRS cable to this switch? Just looking for a simple ON/OFF external switch. Thanks
AnswerHello.
AnswerI did this design and it seems to have worked.
it works by pressing the pedal.
I do the whole procedure to save a favorite sound.
but when I turn on the pedal, the sound remains the same.
although the one led.
there is no change of sound.
What could be wrong?